

Create your own soy candles - it is easy and fun. Soy wax burns cooler and cleaner than tradition waxes! So they last longer, are cleaner for the environment and great for people with allergies.
Ideas for containers: ramekins, sea shells, glass jars, tea tins, clay pot saucers, old glasses
Ideas for decorations: fringe trim, raffia, ribbons, scrapbook papers, sea shells, die cuts, stickers, paint pens
Supplies Needed:
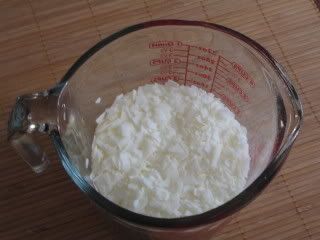
soy container-blend wax
recycled glass jar
6 tsp. essential or fragrance oil
cotton-cored wick, 3" longer than the height of the container
metal wick base
candle thermometer
pencil
large glass measuring cup
large pan & stovetop or a microwave
oven mitts
1. Determine the amount of wax needed by filling the glass container with water, pouring the water from the container into a measuring cup and making note of the amount. One pound of melted soy wax will make 2-1/4 c. liquid wax.
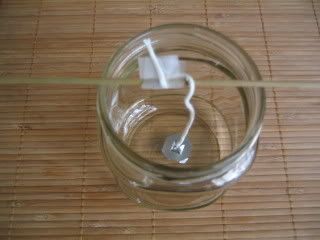
2. Attach the metal wick base to one end of the wick, following instructions on the package. Tie the other end of the wick to the center of a pencil; balance the pencil across the opening of the glass jar (make sure the container is dry). The pencil will keep the wick straight during the pouring and cooling stages.
3. Stove Top Melting Method: Fill one-third of the pan with water and bring to a boil. Place unmelted wax in a glass measuring cup and sit the cup in the boiling water (this is a homemade double boiler).
4. Microwave Melting Method: Place desired amount of soy wax in a large glass measuring cup. Melt on medium temperate in short intervals. (1 minute at a time) The time it takes will depend on your microwave and the amount of wax you're melting.
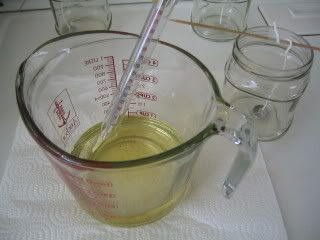
5. Place the thermometer in the wax and monitor the temperature, stirring as needed, until the melted wax has reached a temperature of 160 degrees (never heat above 160 degrees).
6. Wearing oven mitts, place the melted wax on a heatproof surface. Add fragrance oil after the temperature drops to 125 degrees; stir thoroughly. The intensity of fragrance is a personal preference: add more drops for a stronger scent. A good guideline is between 20 to 40 drops.
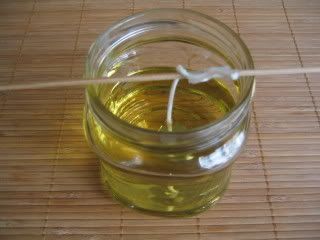
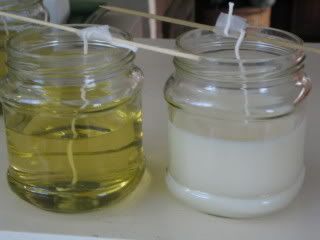
7. When the cooling wax reaches 110 degrees, pour it very slowly into a container to just below the rim. Check to make sure the wick is centered and taut before placing the container, away from cool and drafty places, to rest at room temperature.
8. When the wax is completely cool, trim the wick to 1/4" long. Wait four days before burning in order to settle the fragrance.
9. Add decorations or keep your design minimal. You can hot glue trim around the edge, add fun bits of paper to the glass with decoupage medium or tie a pretty ribbon around the edge.
Great information
ReplyDelete