Join me on my adventure to HSN! We are going to have some amazing new Mod Podge Mold and Melt Kits that are perfect for scrapbooking, paper crafting and DIY party decorations! I’ll be posting live to our social media accounts so be sure to follow along on our journey!
Showing posts with label Mod Podge. Show all posts
Wednesday, July 16, 2014
We will be live at HSN - July 23rd! 6am and 1pm eastern time.
Join me on my adventure to HSN! We are going to have some amazing new Mod Podge Mold and Melt Kits that are perfect for scrapbooking, paper crafting and DIY party decorations! I’ll be posting live to our social media accounts so be sure to follow along on our journey!
Friday, February 15, 2008
Cute Punk Hangers with Mod Podge Sparkle

Supplies Needed:
wood hanger
primer
black gloss spray paint
small image
glitter mod podge
foam paintbrush
masking tape
How To:
1. Tape off the metal hook on the hanger. Prime the hanger & allow to dry.
2. Spray the hanger with 2 coats of black gloss spray paint.
3. Cut a small image to fit in the center of the hanger.
4. Use a foam paintbrush to add glitter mod podge to the back of the image, place the image in the desired position, add more mod podge to coat the top of the image.
5. Using a foam brush, add glitter mod podge over the entire hanger, allow to dry and add a second coat. Dry for 24 hours. Remove the masking tape.
Luminary candle holders with Vintage Magazines and Mod Podge

Vintage Vogue Luminaries
Supply List:
Mod Podge matte
glass cylinder vase
tape measure
color copy of image
scissors
foam paintbrush
wax paper
small glass votive
votive candle
optional: ribbon, rhinestones, silk flowers
Steps:
1. Measure the height and circumference of your vase, this will be the size of the collage you will need to create. Add an inch to the circumference.
2. Create a collage using wrapping paper, old greeting cards, clip art, scrapbook papers, stickers, etc. We used a vintage cover of a Vogue magazine and a graphic piece of scrapbook paper. Color copy the collage.
3. Trim the color copy to the appropriate size for your vase.
4. Working on wax paper, place the color copy printed side down. Using a foam brush apply a liberal coat of Mod Podge to the back of the paper, working quickly, flip over the paper and apply Mod Podge to the front of the paper.
5. Center the paper on the outside of the vase. Wrap around the vase, use your fingers to press out any air bubbles. Use your foam brush to smooth out your brush strokes.
6. Allow to dry for 24 hours.
7. Options: Add a thick ribbon around the base or top rim of the vase. Use a little hot glue to attach silk flower petals to the vase. Add extra bling by gluing rhinestones to the center of the flowers or in a random pattern around the luminary.
8. Drop a votive candle in the vase and watch it glow. (I like to use a small glass votive cup - it makes clean up a snap)
Supply List:
Mod Podge matte
glass cylinder vase
tape measure
color copy of image
scissors
foam paintbrush
wax paper
small glass votive
votive candle
optional: ribbon, rhinestones, silk flowers
Steps:
1. Measure the height and circumference of your vase, this will be the size of the collage you will need to create. Add an inch to the circumference.
2. Create a collage using wrapping paper, old greeting cards, clip art, scrapbook papers, stickers, etc. We used a vintage cover of a Vogue magazine and a graphic piece of scrapbook paper. Color copy the collage.
3. Trim the color copy to the appropriate size for your vase.
4. Working on wax paper, place the color copy printed side down. Using a foam brush apply a liberal coat of Mod Podge to the back of the paper, working quickly, flip over the paper and apply Mod Podge to the front of the paper.
5. Center the paper on the outside of the vase. Wrap around the vase, use your fingers to press out any air bubbles. Use your foam brush to smooth out your brush strokes.
6. Allow to dry for 24 hours.
7. Options: Add a thick ribbon around the base or top rim of the vase. Use a little hot glue to attach silk flower petals to the vase. Add extra bling by gluing rhinestones to the center of the flowers or in a random pattern around the luminary.
8. Drop a votive candle in the vase and watch it glow. (I like to use a small glass votive cup - it makes clean up a snap)
Tuesday, July 10, 2007
Recycle a Cookie Sheet into a Party Tray with Mod Podge
Steve and I had the honor of working with Florence Henderson and Meshach Taylor on their talk show Living Live. It was like a dream....Steve and I are both "Brady" kids and Steve can practically recite every line of dialogue from each episode. We had so much fun and the "re-crafted" party trays were a huge hit!
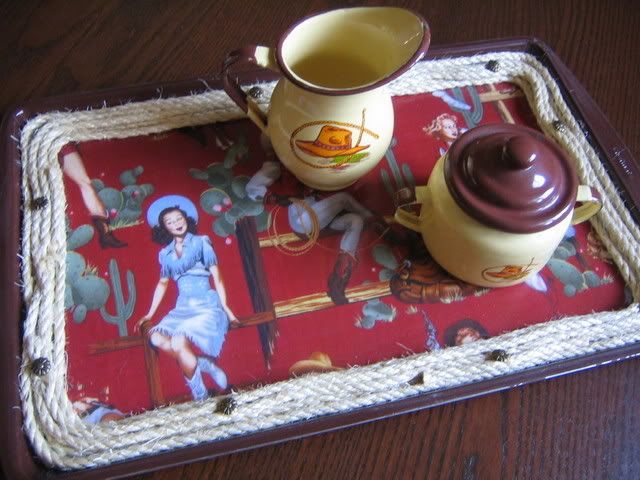
Re-crafted Party Trays
made from cookie sheets with mod podge!
Steve and I had the honor of working with Florence Henderson and Meshach Taylor on their talk show Living Live. It was like a dream....Steve and I are both "Brady" kids and Steve can practically recite every line of dialogue from each episode.
We had so much fun and the "re-crafted" party trays were a huge hit!
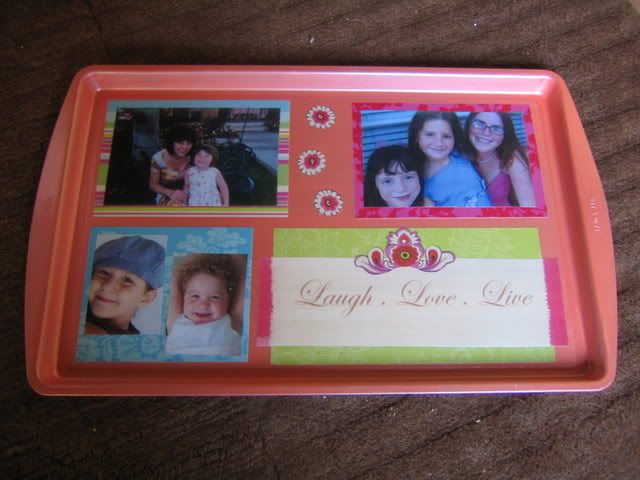
If you look close you can see pictures of my nieces - well except our newest addition - she was not born yet.
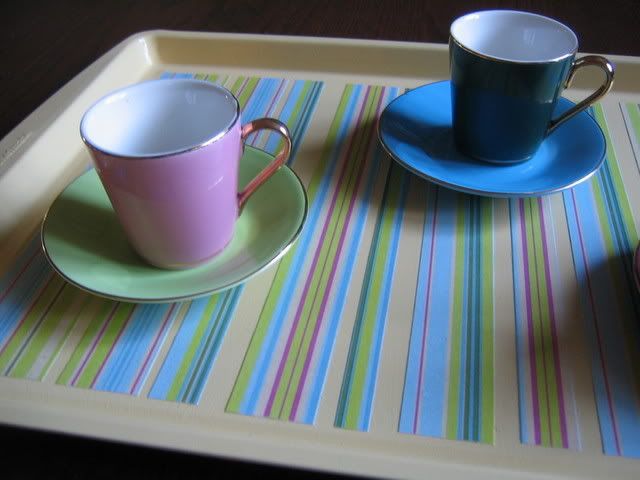
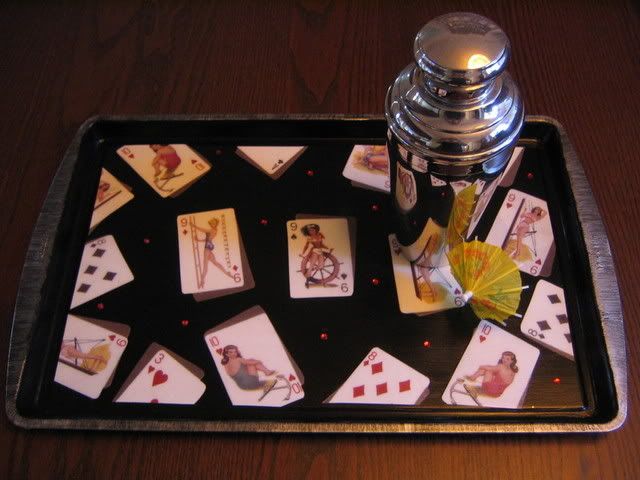
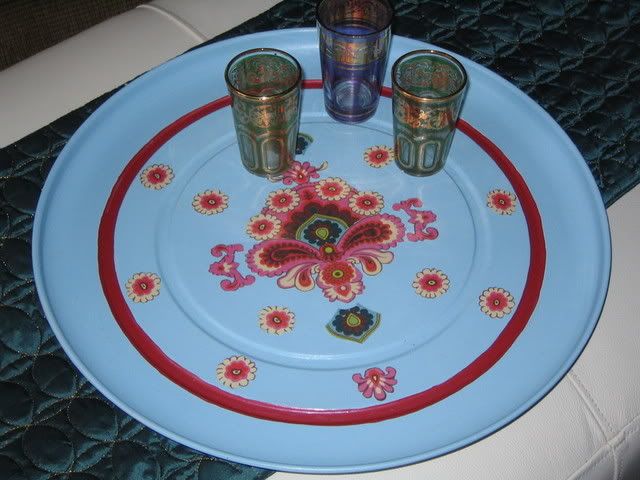
We made party trays from old cookie sheets!
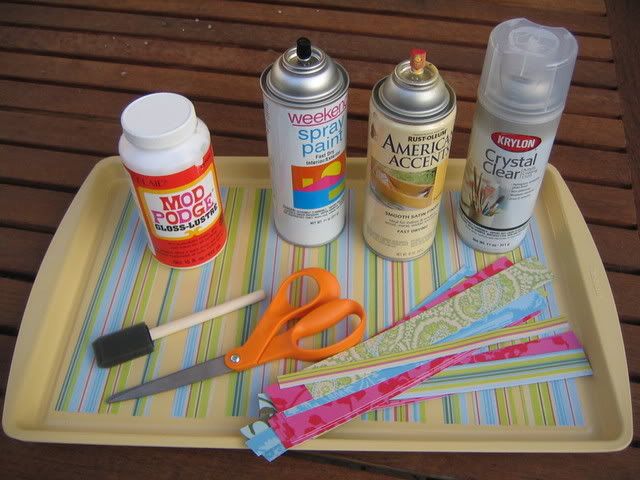
They are so easy to create - here is the skinny:
1.clean, scrub and dry an old cookie sheet.
Give it a good coat of primer (I like spray) and then paint the cookie sheet with two coats of spray paint.
2. decoupage the tray with papers, color copies of family photos or create your own with color copied fabrics.
Subscribe to:
Posts (Atom)